Resin art has become popular for its beauty and versatility, In recent years the hand making resin art grewed its business market and also for the own use. It allowing artists to create vibrant pieces that capture light uniquely. The art form can be made at home from recycled materials, combining creativity with sustainability. A guide explores making environmentally friendly resin art at home using easy-to-find materials, offering limitless opportunities for crafting beautiful, shiny pieces. What’s even more exciting is the possibility to make resin art at home from recycled materials, thus combining creativity with sustainability.

Resin art making at home, providing limitless opportunities to produce exquisite, shiny pieces. However, what if we could enhance the environmental friendliness of this widespread art form?
In this comprehensive guide, I’ll take you through the process of making your own resin art at home, using materials that are not only easy to find but also environmentally friendly. We’ll investigate the process of crafting beautiful resin art using recycled materials within the comfort of your own home.
Why to use Recycled Materials in Resin Art?
Before we dive into the process of making resin art at home from recycled material, let’s consider and discusses the concept of making resin art at home using recycled materials, questioning the motivation behind using such materials and whether it is a beneficial idea or not.
- Environmental impact: By reusing the recycled and leftover materials, we can reduce the waste and also conserve the available resources and prevent the environment.
- Unique creations: Recycled items can add interesting textures and elements to your resin art work. by using the leftovers say the wires, flowers, papers etc. we can give it a unique share and elegent look to our resin art work.
- Cost-effective: It is many recycled materials are free or unused kept at home or even inexpensive if you are going to buy from nearby shops.
- Storytelling: Each piece carries a history, a memory and making your resin art at home make it more meaningful and memorable.
Required Materials for making Resin Art
To get started with eco-friendly resin art making at home, you’ll need the below materials:
- Eco-friendly resin: For getting eco-friendly resing, try to get it from bio-based or plant-derived resins. Epoxy resin is a two-part solution consisting of resin and hardener that is chemically fused together to create a durable material with versatile properties. It is commonly used in the crafting community due to its ability to withstand extreme temperatures and be easily manipulated through sanding and drilling.
- Recycled molds: Silicone molds from thrift stores or repurposed containers can also be used. Recycled items such as wires, flowers, and papers can enhance resin art creations by adding unique textures and elements, resulting in an elegant and distinctive appearance.
- Mixing tools: Use small wooden sticks or repurposed plastic utensils for mixing purpose.
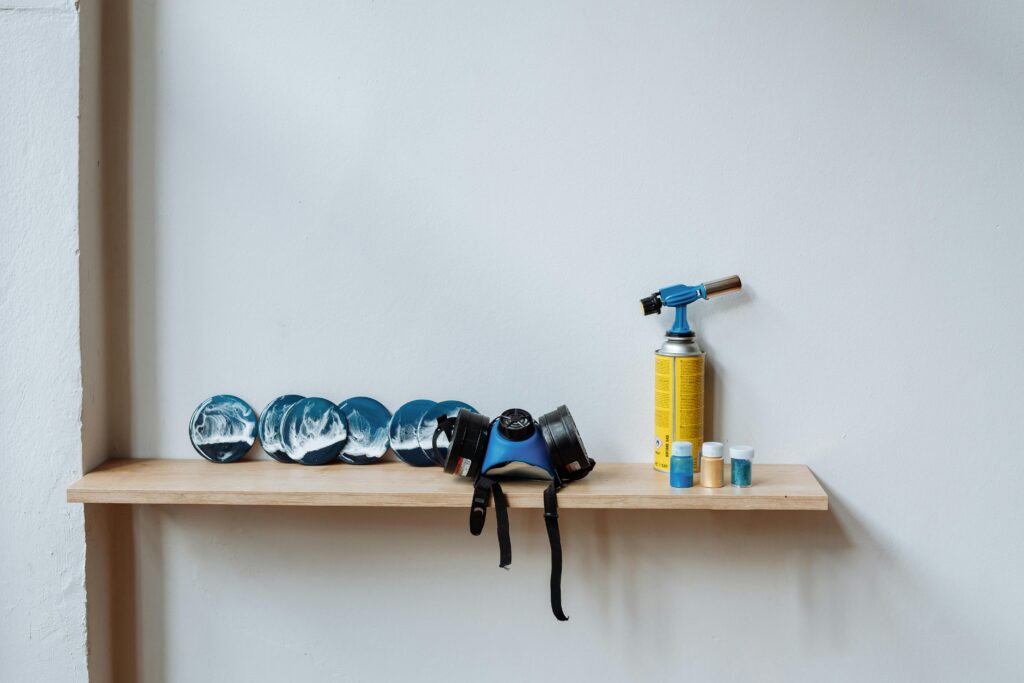
- Protective gear: Resin kits contain skin-irritating chemicals, highlighting the need to protect hands with reusable gloves, a respirator mask, and protective eyewear.
- Sandpaper: Use sandpaper for giving the final finish and touches to your resin art.
- Resin Dye: Using eco-friendly resin dyes or pigments is recommended, although it is an optional choice for users.
- Recycled inclusions: Utilize various household items like dried flowers, recycled paper, discarded metal pieces, broken jewelry, plastic bottles, sea glass, old electronics to enhance creativity in resin art. This is very useful to draw your imagination into reality. Use the below leftovers to make your resin art more creative.
- Dried flowers and leaves or fruit peels can also be used
- Recycled paper (magazines, newspapers, old books) etc. can be used
- Use of Discarded metal pieces (washers, nuts, bolts) to give unique look
- Broken jewelry or beads can be used to decorate the resin art
- Plastic bottle and caps also can be used
- Sea glass or broken ceramics at your home
- Old electronic components like wires, peeled cables etc.

Step-by-Step Guide to Creating Resin Art with Recycled Materials
Step 1: Prepare your resin working area
First things first, Start by setting up a well-ventilated and dry area to start the resin art work. Cover your working surface with a protective sheet like an old newspaper or a plastic tablecover will be perfect choice for this work. Gather all your materials and put on your protective gears like gloves, apron and eye wear.
Step 2: Preparing the Resing Mold
If you’re using a recycled plastic container or metalic container as a mold then make sure it should be thoroghly clean, dry and moisture free. For silicon molds, a very light coating of a mold release agent will also be useful. For cleaning purpose, you can make your own cleaner just by mixing the small amount of vegetable oil with a drop of dish soap into it.
Step 3: Arranging the Recycled Materials
This is where your artistic vision comes into the picture. Arrange the selected recycled materials and keep it in to the mold. If you want to make the layered effect then add these materials gradually and slowly as you pour the resin. For the suspended look, you can add them to the resin later on.
Step 4: Resin Mixing
Safety first, For mixing the resin open it and follow the manufacturer’s instructions for handinling the resin. Typically, you need to mix the equal amount of resin and hardener, then Stir it slowly and thoroughly for say about 3-5 minutes to ensure proper mixing without introducing too many air bubbles in to it. To prevent the bubble formation, take your time and stir it slowly.
Step 5: Add the Color (Optional)
If you want to give the color to your imagination then add some color to your resin, Select the eco-friendly colors available from your local shop make sure these can be used in resin art work. Now it is the time to use eco-friendly pigments or dyes, stirring them into your resin mixture slowly and thoroughly. Start with a small-small amount and you can always add more if needed the light or dark color tone as per your requirement. Start from lesser and gradually add it more darket shed.
Step 6: Resin Pouring
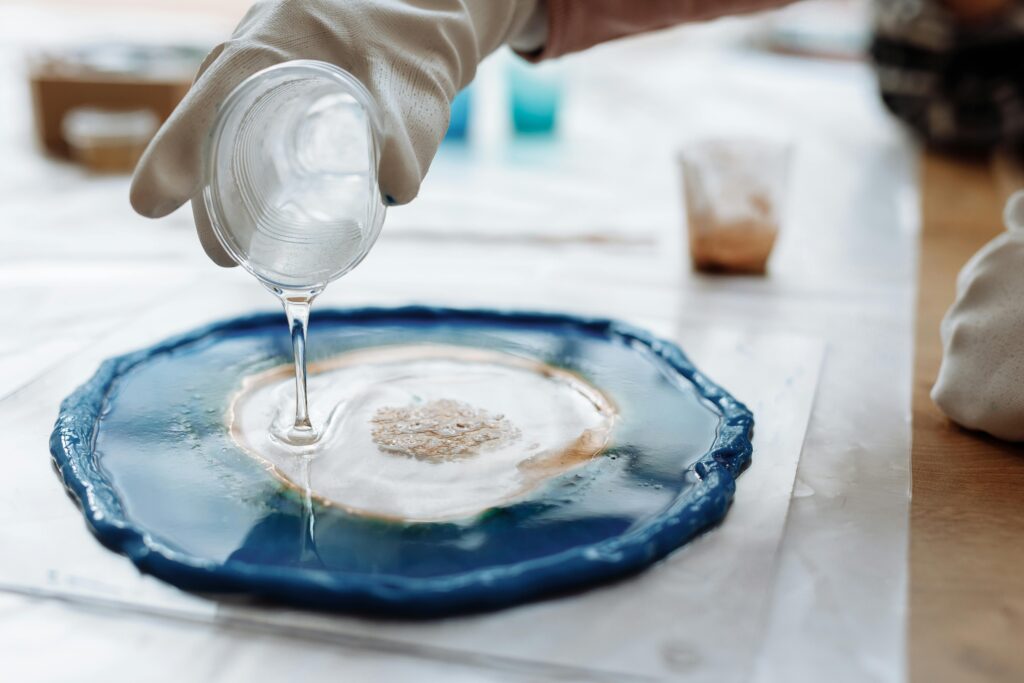
Now, Pour your resin mixture slowly into the mold. If you’re creating layers then just pour enough amount to cover it and make first layer formation of recycled materials. Use a wooden stick to gently push down any items that float up.
Step 7: Remove Air Bubbles
The Air bubbles are not the friendly element for your resin art, they may ruin the glossy look and finish of your resin art. To remove them you can use the heat gun or tourch briefly over the surface and be careful not to make it overheat. Now gently tap the sides of the mold. You may use toothpick also to pop the bubbles and prevent your resin art work.

Step 8: Add More Layers as your need
If you want multi layered effect then you should wait until your first layer is partially settled (it usually took about 40-55 minutes) before adding more recycled materials and pouring the next layer of resin. Repeat the same process until your mold is filled.
Step 9: Curing Process
Let it cure properly, curing process allows your resin art to cure fully. This can take anywhere from 2 to 3 days. It depending on the resin type you’re using and also the size of your art work you are about to make. Ensure it’s kept in dust-free, moisture free and dry area during this time.
Step 10: Remove the Mold
Once the resin is fully cured, remove the resin art work very carefully from the mold. If you used a recycled container then you might need to break it to get your art work out. Make sure to do this safely and this should not break your artwork else need to do it all again.
Step 11: Finishing the touches
For the final tough, use Sand any rough edges with fine-grit sandpaper. You can also add a final layer of resin for extra shine if desired.
Tips for Working with Specific Recycled Materials
- Paper: Seal paper items with a thin layer of resin before adding them to your main piece to prevent discoloration.
- Metal: Clean metal pieces thoroughly and consider sealing them with a clear coat to prevent oxidation.
- Plastic: Roughen the surface of smooth plastics slightly to help the resin adhere better.
- Organic materials: Ensure leaves and flowers are completely dry to prevent them from decomposing in the resin.
- Glass and ceramics: Clean thoroughly and handle carefully to avoid cuts.
Creative Ideas for Recycled Resin Art
- Memory Preservers: Create paperweights or decorative items using old photos, ticket stubs, or other memorable things.
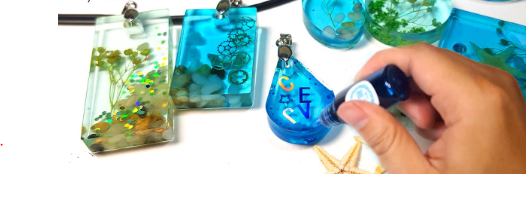
- Eco-Jewelry Creation: Make pendants or earrings using small recycled items like watch parts or broken jewelry or metalic wires.
- Functional Art Work: Transform old CDs or vinyl records into unique clocks or coasters.
- Nature-Inspired Pieces: Use natural objects like pebbles, shells, or pinecones into your resin art and give it more natureful look.
- Upcycled Furniture: Use resin to create new surfaces for old furniture, embedding recycled materials for a unique look.

Common Issues while Resin Art work
- Cloudy Resin work: Cloudy resin often results from moistures. Always ensure that all the materials are completely dry and moisture free before using it.
- Soft or Sticky Finish: Sticky finish usually caused by the improper mixing of the resin or may be after using the incorrect ratios. Always measure it very carefully and mix it thoroughly.
- Excessive Bubble creation: Excessive bubbles being created if you pour it very fasly. To overcome from excessive bubbles, Pour the resin slowly and use a heat source carefully to remove bubbles. You can also use tooth pick to pop it up.
- Resin is Not Curing: If the prepaired resin is not getting cured then best way to search the root-cause is that check your workspace temperature. Most of the resins cure perfectly between 70-80°F (21-27°C). Use the thermometer to check the temperature.
- Color Bleeding: Some materials, especially paper and fabric, may bleed color. Seal these items first with a clear resin layer to prevent it from bleeding color.
Safety Considerations
While working with eco-friendly resins, it is generally safer than traditional epoxy resins, it’s still important to take below precautions:
- Always work in a well-ventilated, moisture free and dry area.
- Wear protective gear like gloves, a mask, and eye protection glasses etc.
- Avoid direct skin contact with uncured resin, it may create itiching and its hoter too.
- Keep materials away from food preparation areas, its not good to expose it with food.
- Clean up spills immediately with rubbing alcohol.
Environmental Impact and Disposal
Even when using eco-friendly resins and recycled materials, it’s important to minimize the waste, keep all the waste at one place and dispose it properly. We may follow the directives to minimize the waste:
- Mix only what you need to reduce leftover resins, do not mix unwanted resins.
- Cure any leftover resin in a disposable container before discarding it.
- Clean tools with rubbing alcohol instead of water to prevent resin from entering the water system and prevent environment.
- Check local authority regulations for proper disposal of cured resin and any containers used in the process.
Conclusion
Creating resin art at home using recycled materials is not only a satisfying creative endeavor but also a meaningful way to reduce waste and promote environmental consciousness. By following these step-by-step instructions and experimenting with different materials and techniques, you can craft stunning resin artworks that are as beautiful as they are eco-friendly. So, gather your supplies, unleash your imagination, and start making your own recycled-material resin art today! The possibilities are endless.
Remember, the key to successful resin art lies in experimentation and patience. Don’t be afraid to try different combinations of recycled materials, and always take your time with each step of the process. With practice, you’ll develop your own unique style and techniques. You may also explore other DIY ideas.
So gather the required materials, let your imagination run wild, and dive in to this journey with us, we will help you through out in this journey. Stay tuned and have a look for other DIY home making hand craft ideas.
FAQs on making resin art at home from Recycled materials
Can resin products be recycled?
Resins are eco-friendly?
How to make eco-friendly Resin?
What are the common Issues while Resin Art work?
Soft or Sticky Finish: Sticky finish usually caused by the improper mixing of the resin or may be after using the incorrect ratios.
Excessive Bubble creation : Excessive bubbles being created if you pour it very fasly.
Resin is Not Curing: If the prepaired resin is not getting cured then best way to search the root-cause is that check your workspace temperature. Most of the resins cure perfectly between 70-80°F (21-27°C). Use the thermometer to check the temperature.
Color Bleeding: Some materials, especially paper and fabric, may bleed color. Seal these items first with a clear resin layer to prevent it from bleeding color.