Introduction
Candle making is a hobby DIY craft that allows you to create your own personalized candles for yourself at your home for gifting purposes or to start it as a passive hobby. Whether you’re intrigued by the artistry of candle making or looking to just start a journey into a new hobby, this comprehensive step by step beginner’s guide to make candles at home and will take you through each and every small detail of the process of making candles at home. From selecting the right materials to mastering different techniques of candle making, let’s embark on this creative journey together.
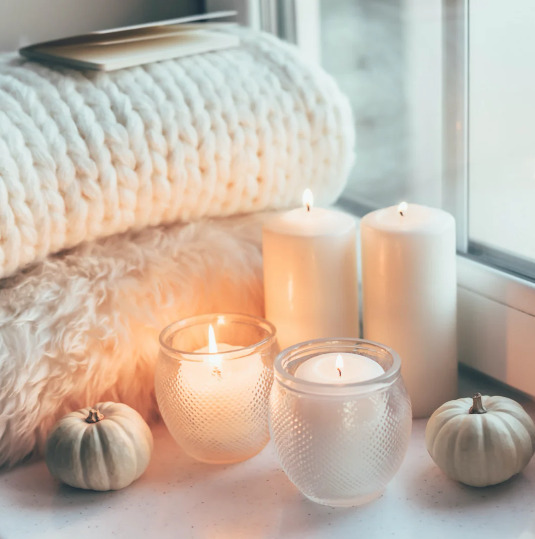
Getting Started: Essential Materials and Tools
Before diving into candle making, it’s crucial to gather the necessary materials and things which are needed for candle making. It’s essential to understand the basic components and processes involved. This chapter covers the foundational aspects of candle making and the required candle making kit.
The foundation of a successful candle-making endeavor lies in having the right tools and supplies. In this section, we will guide you through out the process of Step by Step Beginner’s guide to make Candles at Home of assembling a comprehensive set of candle-making supplies, ensuring that you are fully equipped to embark on your creative journey with confidence.
Wax: Primary Element for Candle making
Candle wax is the primary material used in candle making, and different types offer distinct characteristics:
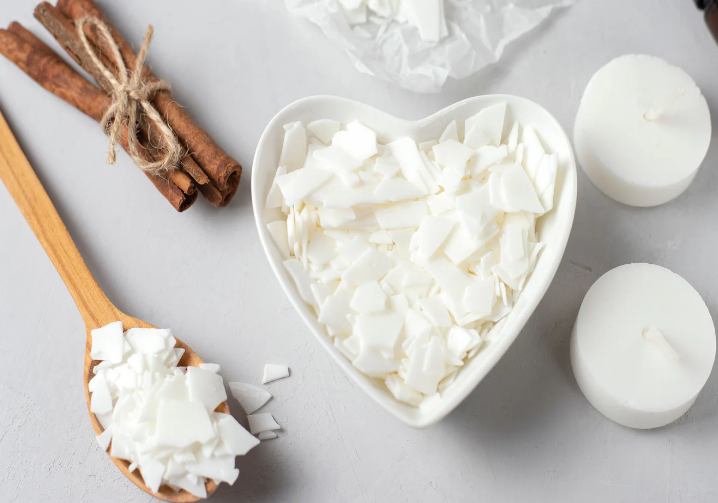
- Paraffin Wax: Paraffin wax is a traditional wax derived from petroleum. It’s affordable, readily available, and holds fragrance and color well. This is traditional wax.
- Soy Wax: Made from soybean oil, soy wax is natural, renewable, and biodegradable. It burns cleanly and slowly, with a creamy appearance. This is natural and eco-fiiendly wax. Mosly we will be using either soy wax or bees wax.
- Beeswax: Produced by honeybees, beeswax is natural and has a subtle honey scent. It burns cleanly, purifies the air, and is often used in premium candles. This is commonly available in the super markets.
- Gel Wax: Gel wax is transparent and rubbery wax that’s ideal for creating decorative candles. It can hold embeds like shells or beads within the wax.
Containers: Select Stylist and Elegant
Choosing the right container for your candles is important for both aesthetic appeal and practicality. Here are some considerations when selecting containers:
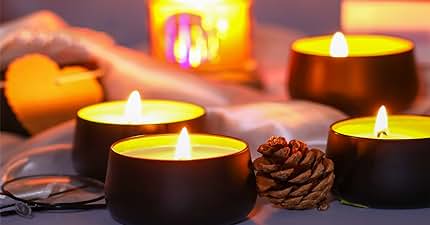
- Material:
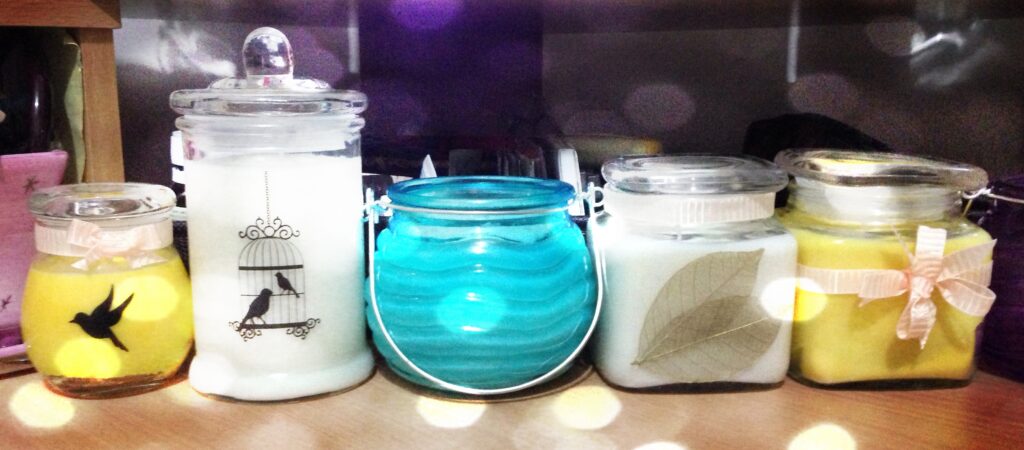
- Glass Jars: These are popular choices due to their transparency, allowing the glow of the candle to shine through. Glass candle jars come in various shapes and sizes, making them versatile for different candle styles.
- Metal Tins: Tins are lightweight, durable, and often used for travel or container candles. They come in various finishes, such as matte or glossy, adding to their aesthetic appeal.
- Ceramic or Stoneware: These containers offer a rustic or artisanal look and can be glazed or unglazed, depending on the desired finish.
- Teacups or Mugs: Repurposing teacups or mugs can add a charming and personalized touch to your candles.
- Size:
- Choose containers that match the size of your candle. Ensure there is enough room for the wax and the wick without overcrowding or causing the candle to spill over.
- Consider the diameter and depth of the container, as these factors can affect how the candle burns and how long it lasts.
- Heat Resistance:
- Ensure the containers can withstand the heat generated by the burning candle. Glass jars and metal tins are generally heat-resistant, but always check the manufacturer’s specifications to be sure.
- Sealability:
- For candles that may be transported or stored for longer periods, consider containers with lids or covers to protect the candle and preserve its fragrance.
- Aesthetic Appeal:
- Containers come in various colors, shapes, and finishes. Choose one that complements your home decor or the theme of the candle (e.g., rustic, modern, vintage).
- Reuse and Recycling:
- Opt for containers that can be reused or recycled after the candle has burned down. Many crafters and candle makers appreciate eco-friendly options that minimize waste.
Other Essential Tools and Materials
Before you begin making candles, gather the necessary tools and materials:
- Wicks: Thin wicks are appropriate for most candles, but can snuff out easily when used in large candles. Likewise, thick wicks tend to have larger flames, which melt wax quicker, making them a better choice for large candles. Every candle needs a wick. Wicks are typically made of paper, cotton, zinc, or wood.
- Containers: Decide on containers such as metalic jars containers, glass jar, tins, or molds. Ensure they are heat-resistant and suitable for your chosen wax.
- Fragrance Oils: Optional for scented candles, these oils add aroma to your candles. Ensure they are specifically formulated for candle making.
- Dyes or Pigments: If you wish to color your candles, choose candle-specific dyes or pigments.
- Thermometer: Essential for monitoring wax temperature during melting.
- Double Boiler or Melting Pot: To melt wax safely and evenly use the good quality of boiler.
- Stirring Utensil: A heat-resistant spoon or spatula for stirring wax and additives.
- Scale: For the accurate measurement of wax and additives.
- Workspace: Set up a clean, well-ventilated area to work safely with hot wax and fragrances.
Understanding Candle Wax as per its uses
Each type of wax has its unique characteristics:
- Paraffin Wax: This is a Traditional wax and derived from petrolium, its affordable, and widely used. It holds fragrance and color well.
- Soy Wax: This is made from soybean oil, This Natural, renewable, soy wax is natural, renewable and biodegradable. It burns cleanly and slowly, with a creamy appearance and its eco-friendly.
- Beeswax: Its a Premium Quality wax, its natural and a subtle honey scent. It burns cleanly and purifies the sorrounding air. Its Produced by honey bees. Its usually used in premium quality candles.
- Gel Wax: It is well knows as transparent and rubbery wax, that’s ideal for creating decorative candles. It can hold embeds like shells or beads within the wax.
Choose a wax based on your preference for burn time, scent throw, and environmental considerations. While there are other types of waxes and wicks beyond those listed above, these are likely what you will want to use as a beginner.
Preparing Your Safe Workspace
- Cleanliness: Ensure your workspace is clean and free of dust or debris that could affect your candles.
- Ventilation: Work in a well-ventilated area to disperse any fumes from melting wax and fragrances.
- Safety: Keep a fire extinguisher nearby and never leave melting wax unattended.
Step-by-Step Candle Making Process
Step 1: Select and Prepare Your Containers and Wicks
The wick plays a pivotal role in the functionality and aesthetics of a candle. Understanding the intricacies of wick selection based on candle size, wax type, and burning characteristics is essential. We will walk you through the wick selection process, helping you grasp the nuances of wick types and sizes to ensure optimal burning performance and visual appeal in your handcrafted candles and also how to start business with it.
- Place wicks in containers using adhesive dots or hot glue to secure them to the bottom.
- Ensure wicks are centered and straight using wick holders or pencils placed across the container.
Step 2: Melt the Wax
- Use a double boiler or melting pot to melt wax gently over medium heat.
- Monitor the temperature with a thermometer, following manufacturer’s recommendations for your chosen wax type.
- Once the temperature reaches 185 degrees Fahrenheit, it’s time to add your fragrance.
Step 3: Add Fragrance and Color (Optional)
For those looking to elevate their home candle-making experience, we will delve into the world of fragrance oils and candle dyes. From exploring a myriad of captivating scents to unraveling the art of incorporating vibrant colors into your candles, this section will equip you with the knowledge and techniques to infuse your creations with delightful aromas and visually captivating hues. Some common fragrances are like vanilla, peach, lemon, lavander etc.
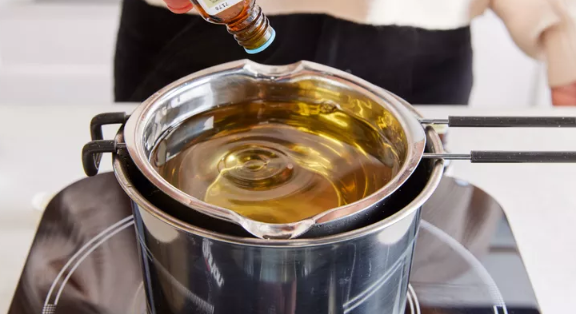
- Once wax reaches the desired temperature i.e. 137 to 150 degree farenheight, add fragrance oil and dye or pigment if desired to addup in the candle.
- Stir it gently and thoroughly to distribute fragrance and color evenly in the melted liquid candle..
Step 4: Pour Wax into Containers
- Carefully pour melted wax into prepared containers, leaving a small space at the top to hold the thread.
- Allow candles to cool and harden completely. Avoid moving containers to prevent wicks from shifting. You can keept inside the freezer to make it quicker cold.
- If you’re anxiously awaiting for your wax temperature to drop, you can speed up the process by carefully pulling your inner pan out of the water and drying it off with a paper towel. Place it on a trivet away from the heat source so it can continue cooling. Next, it’s time to pour your wax. Do so slowly and steadily in the middle of the candle container.
Step 5: Finishing Touches
- Trim wicks to about ¼ inch above the surface of the wax once candles are fully cooled.
- Optionally, decorate containers with labels, ribbons, or other embellishments.
- You should aim for 1 ounce of scent oil for every 1 pound of wax (generally). This is why you may want to use a kitchen scale once you’ve measured how much wax will fit your container so you can best calculate how much scent oil to use.
Troubleshooting and Tips
- Frosting: A natural effect in soy wax candles due to temperature fluctuations. It doesn’t affect the quality.
- Sinking Wicks: If wicks sink during cooling, gently reposition them or use a wick holder.
- Fragrance Throw: Experiment with different fragrance oils and amounts to achieve the desired scent strength.
Safety Precautions
- Always follow safety guidelines when working with hot wax and open flames.
- Keep children and pets away from your workspace during candle making.
- Dont touch the hot container/Jar.
Enjoying Your Homemade Candles
- Allow candles to cure for at least 24 hours before lighting for the first time.
- Enjoy the ambiance and fragrance of your handmade candles, or share them with friends and family as heartfelt gifts.
How Profitable your Candle Business
There’s plenty of competition in the candle industry, but that doesn’t mean you can’t blaze your own trail. To stand out in a crowd, create unique aromatic blends, especially ones that pay homage to the time of year or area where you’re selling your goods. For example, whip up cinnamon-scented votives for autumn or an ocean-inspired fragrant candle for coastal communities. Another idea is to play with shape. Use molds to create sculptural or twisted taper candles, which are popular right now. Or customize the outside of a pillar candle with pressed dried flowers, burlap, or twine tied into a bow. Get to know more about how to start candle making business from our other post.
Conclusion
Candle making is an art form that combines creativity with practical skill. By following this beginner’s guide, you have learned the fundamental steps to create beautiful candles at home. Experiment with different waxes, fragrances, and containers to discover your unique candle-making style. With practice, you’ll master the techniques and create candles that bring warmth and light to any space. Embrace the journey of candle making and let your creativity shine! The candle making business at home is really profile not to forget there are many players in the market so plan it properly before starting it. You may also check other DIY home decor ideas.